ItmSUITE® - CMS installation
Install CMS server
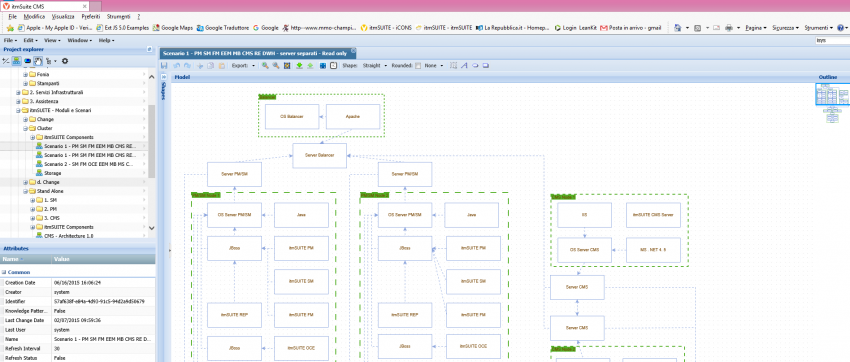
CMS server collects all the web services to support CMS fat client, RE and PM/SM integration.
Moreover this module will provide the component CMS web client to allow CMDB management.
DB: creation and initialization
System requirements
Hardware
- CPU Dual Core x64, 2,6 Ghz or more
- 2 GB ram (4GB recommended)
- 1 GB of free disk space
Software
- OS: Windows 2008 R2 Server (recommended), Windows 2003 Server
- MSSQL 2008 R2 (recommended), MSSQL server 2005 std
Installation procedure
This operation requires DB Owner grants on CMS DB
Follow the following steps:
1. Create a new DB instance on DB server engine
2. Execute the following scripts (the scripts are contained in folder 2.Script):
2.1 Create.sql

2.2 Init.sql
After installation script ran, in the table AVER will be present the version of just created CMS DB.
Web server installation
System requirements
Hardware
- CPU Dual Core x64, 2,6 Ghz or more
- 2 GB ram (4GB recommended)
- 1 GB of free disk space
Software
- OS: Windows 2008 R2 Server (recommended), Windows 2003 Server
- IIS 7.0 (recommended) , IIS 6.0
- Framework .NET 4.0
Installation wizard
Installation of CMS server requires Admin privileges on Web server.
Create a folder to install CMS server on Web server, in example:
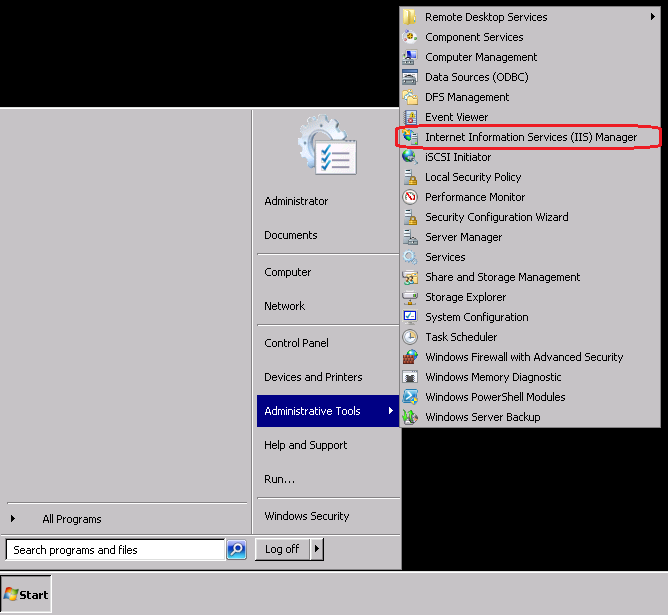
Run IIS (Internet Information Services) from Web server administration tools.
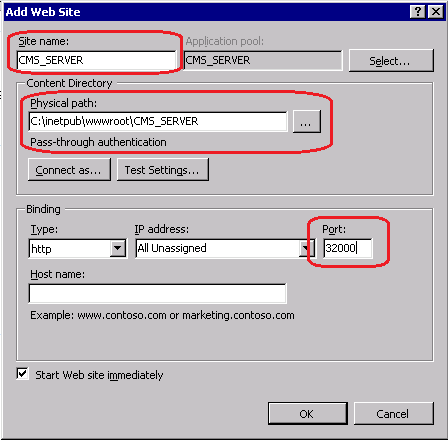
Create a new Web site in IIS.
Set the Site name, the Physical path (this shall be the folder created above) and the Port.
At click on Ok the new Web site CMS server will be created.
The Port in above picture (32000) is just an example.
It is essential that the selected Port is not currently used by any other applications.
Unzip the CMS server package, as result the following folders shall be created:
1. Installer: contains the installation package
2. Script: contains the script to create and initialize the CMS DB
3. Doc: contains custom steps related to current version (if there are any)
To start the installation process: navigate to the folder 1. Installer and double-click on the file setup.exe.
If OS on Web server is a windows 2008 server: is required to right click on setup.exe and select "Run as administrator" option.
A wizard process will help during the installation of CMS server.
Click on Next > button
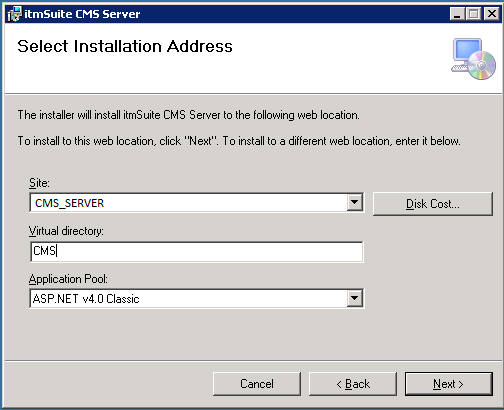
Select the installation folder created above and the Application pool ASP.NET v4.0 Classic.
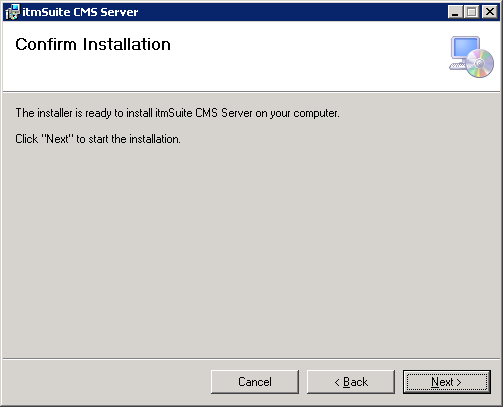
Click on Next > button
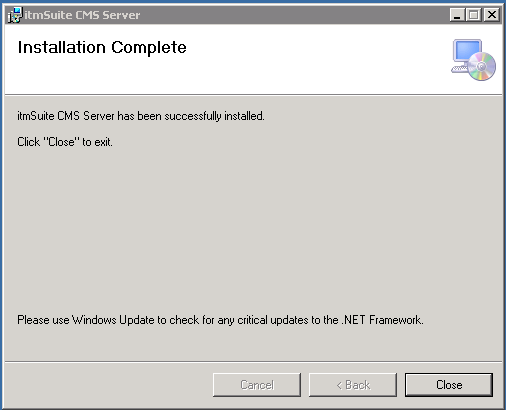
Wait for installation completion.
Installation completed: Click on Close button
Move into installation folder and localize [Installation Folder] \ CMS \ Web.config
Search the section limited by tag <settings>
Insert the IP address or the name of DB server for the attribute with key "db.server".
Insert the user with grant on DB itmSUITE CMS for the attribute with key "db.user".
Insert the password for the attribute key "db.password".
Insert the CMS DB name for the attribute key "db.schema".
The default connection to MSSQL Server is on port 1433: if current DB Engine installation is answering to default port, it is not required to be declared.
If DB Engine installation is not configured on default port: it is required to declare it.
Example: <add key = "db.server" value = "db.server, 1435" />
On IIS 7: select the option Directory Browsing and configure the settings as in following picture.
And then click on Apply button.
If present: follow the custom steps in folder 3. Doc
Start the Web site from IIS.
As described above the CMS server allow access via browser to CMDB.
CMS web client is fully compatible with IE 10 and IE 11.
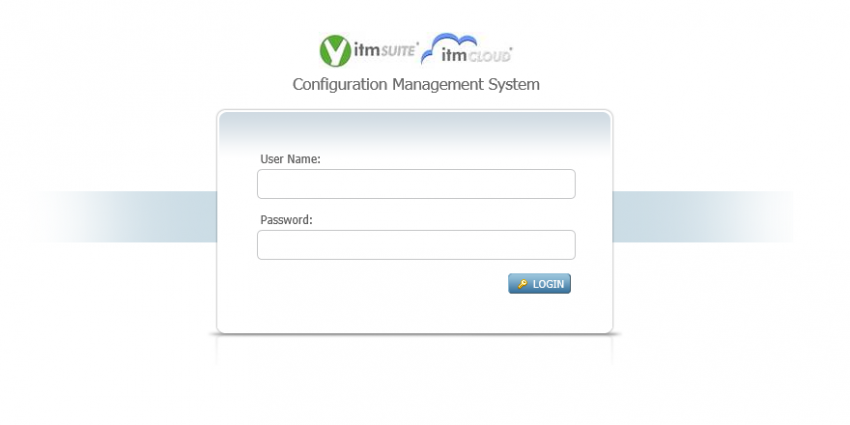
The following login page shall be visualized browsing http://[Web server]:[port]/CMS/
Finally shall be possible to start work with CMS web client by login with correct credentials.
For any question or doubts please contact our support: mailto:support@itmsuite.eu
Upgrade CMS server
DB: upgrade
This operation requires DB Owner grants on CMS DB
Follow these steps:
1. Execute a backup of CMS DB.
2. Execute the update_[version].sql present in folder 2.Script.
3. Check in folder 3.Doc if custom steps are present and execute them.
After upgrade script ran, in the table AVER will be present the version of just migrated CMS DB.
Web server upgrade
Upgrade of CMS server requires Admin privileges on Web server.
Follow these steps:
1. Execute a backup of CMS server installation folder (copy / paste the folder in another filesystem location, it shall be considered the [backup folder]).
2. From Web server control panel uninstall the CMS server.
3. Follow the steps above related to CMS server installation.
4. Search for just installed [Installation Folder] \ CMS \ Web.config and copy in on server desktop.
5. Search the section limited by tag <settings>
6. Copy the previous <settings> from [backup folder] \ CMS \ Web.config in Web.config copied on server desktop
7. Move (overwrite) the Web.config from desktop to [Installation Folder] \ CMS \ Web.config
8. Check in folder 3.Doc if custom steps are present and execute them.
Install CMS fat client
System requirements
Hardware
- CPU Dual Core x64, 2,40Ghz or more
- 4 GB ram
- 1 GB of free disk space
Software
- OS: Windows 7, Windows 8.X, Windows 2008 R2 Server, Windows 2003 Server
- Framework: .NET 4.0
Installation of CMS fat client requires Admin privileges on PC.
Unzip the CMS fat client package, as result the following folders shall be created:
1. Installer: contains the installation package
2. PlugIn: contains the file required to enable model type(s) creation
3. Doc: contains custom steps related to current version (if there are any)
Copy and paste the 1. Installer \ Release folder in [CMS fat client folder]\CMS\
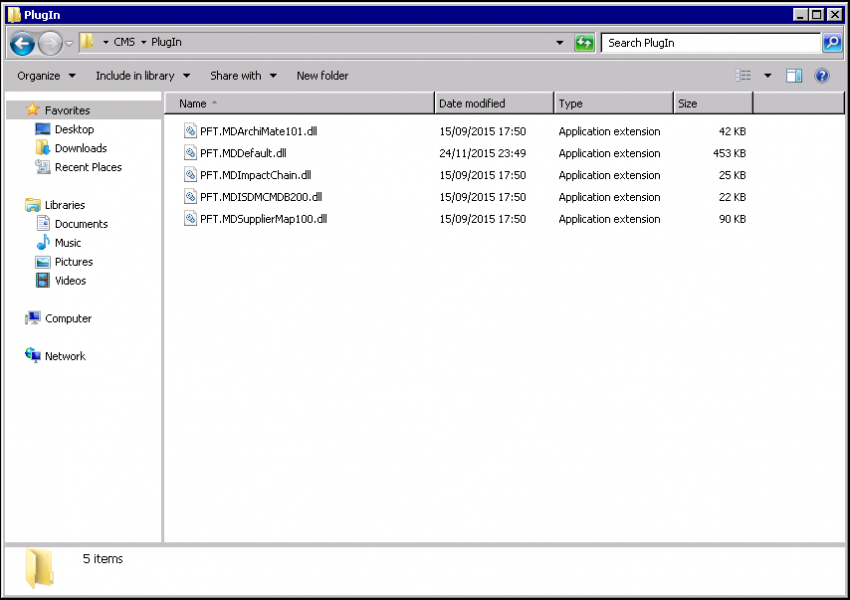
Copy and paste the necessary 2. Plug-in in [CMS fat client folder]\CMS\PlugIn
Each CMS plugin will enable the creation and the modify for one or more CMS model type.
The plugin PFT.MDDefault.dll and PFT.MDImpactChain.dll shall be mandatory present in each CMS fat client installation.
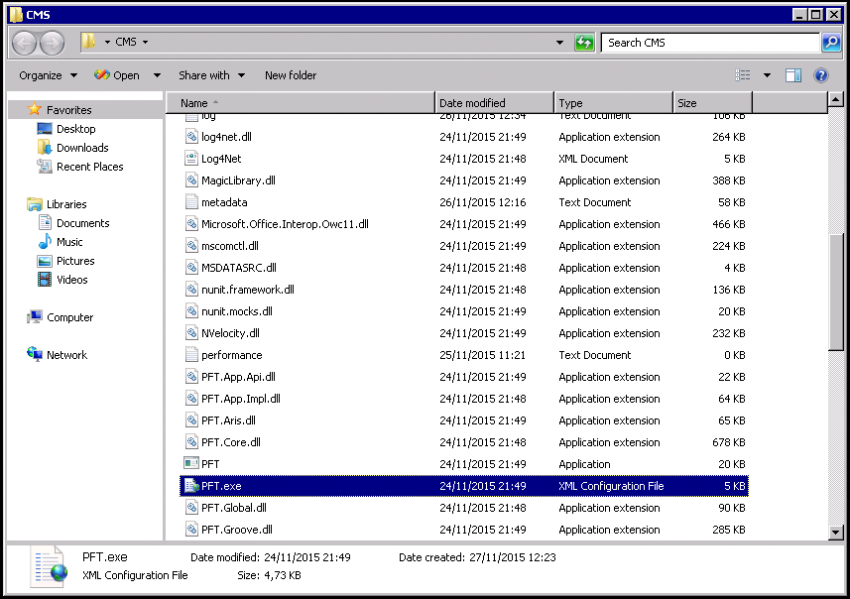
To run CMS fat client double click on [CMS fat client folder]\CMS\pft.exe
Click on Yes button (leave Remember option checked).
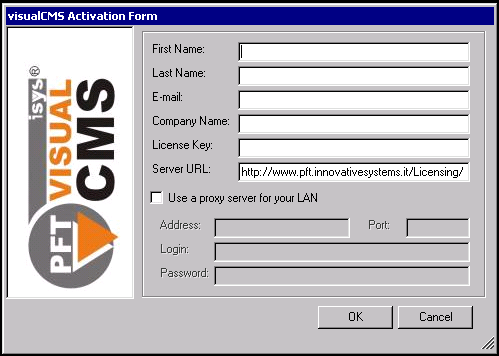
At the start of CMS fat client the software activation procedure will be activated: insert in fields the required data and the product activation key.
If preset: insert the proxy server data too.
If present: follow the custom steps in folder 3. Doc
Once CMS fat client is correctly activate shall be possible to connect it to CMS server: click on option Server Connect and insert CMS server connection data.
Upgrade CMS fat client
Upgrade of CMS server requires Admin privileges on on PC.
Follow these steps:
1. Execute a backup of CMS fat client installation folder (copy / paste the folder in another filesystem location, it shall be considered the [backup folder]).
2. Follow the steps above related to CMS fat client installation.
3. If present: follow the custom steps in folder 3. Doc

